Letting Argo CD manage itself
I'm playing with GitOps and I'm using ArgoCD for my orchestration engine. I want to let it rule itself through the git repository.

I'm playing with GitOps and I'm using Argo CD for my orchestration engine. I want to let it rule itself through the git repository.
One of the things I'm implementing in my new Kubernetes cluster is Argo. I'm going to use it for as much of the cluster as I can. First step is getting it to manage itself. Which was a bigger challenge than expected.
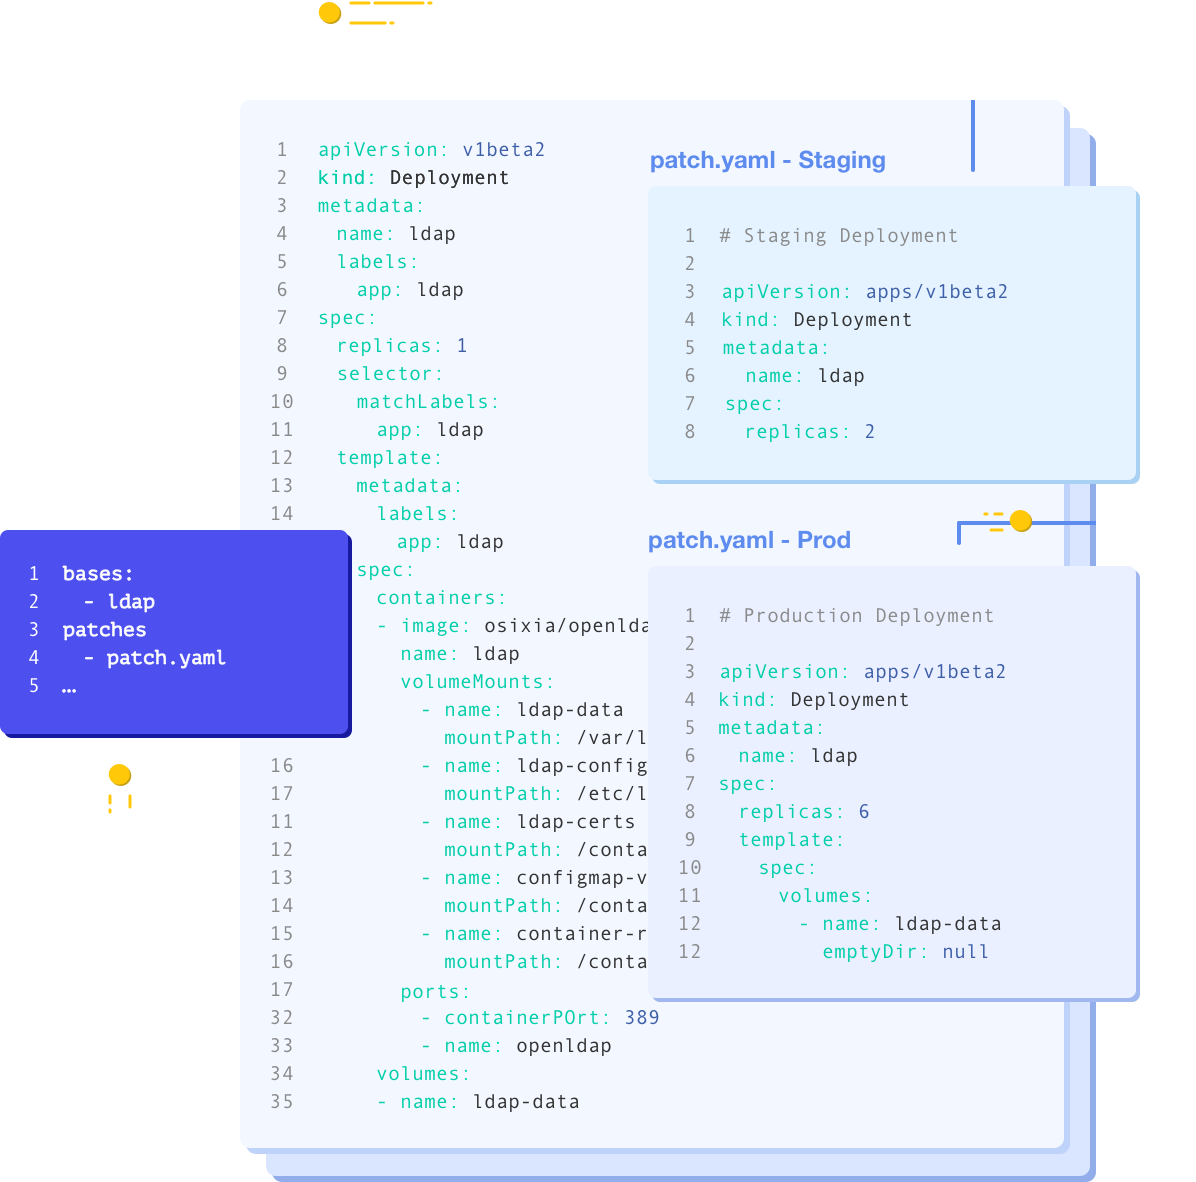
First thing is first, some background. My cluster is a basic Kubernetes cluster setup using kubeadm. It currently has 3 control planes and 2 worker nodes. We'll be using Kustomize to setup Argo and let it rule itself. You will need to have kubectl, kustomize and full access to your Kubernetes cluster. The built-in version of Kustomize in kubectl is not current and will not work. You must use the standalone Kustomize binary.
Now to the meat of this. We are going to create a folder structure with a few files. The structure will look like this:
base
- applications.yaml
- ingress.yaml
- repository.yaml
- secrets.yaml
overlays
- argocd-secret.yaml
- deploy-command.yaml
- service.yaml
kustomization.yaml
The files in the base directory:
applications.yaml will contain the applications in Argo that will be deployed. My example will only have the Argo app.
ingress.yaml will contain the ingress needed to access the Argo UI since that isn't there by default.
repository.yaml will contain the secret defining the repository.
secrets.yaml will contain the needed secrets to connect to my git repository.
And in the overlays directory:
argocd-secret.yaml contains the admin password.
deploy-command.yaml contains a slight modification so that the UI works through nginx or other ingress controllers.
service.yaml sets the service to be a ClusterIP so it works right with an ingress.
kustomization.yaml contains everything to tie it all together.
applications.yaml
Lets begin with applications.yaml. It contains the individual applications that Argo will manage. There's a number of different options, but we'll stick with the basics for Argo.
apiVersion: argoproj.io/v1alpha1
kind: Application
metadata:
  name: argocd
spec:
  project: default
  source:
    repoURL: 'git@ssh.dev.azure.com:v3/example/kubernetes/kubernetes'
    path: argocd
    targetRevision: master
  destination:
    namespace: argocd
    name: in-cluster
  syncPolicy:
    automated: {}
    syncOptions:
      - CreateNamespace=true
Simple.
A quick overview, we are setting the repoURL to the url for the git repo. (My example uses Azure DevOps, not GitHub). The path in the repository. In this case argocd. And the targetRevision which is a git ref. I wanted to use the master branch so I set it to master. Default is HEAD for git repositories. We also set the namespace to argocd to make it easier when working with the rest of the Argo documentation.
ingress.yaml
Next up is the ingress.yaml file. It's pretty basic, nothing fancy. Just forwarding the correct domain to the service. This is optional and only relevant if you have an ingress controller set up.
apiVersion: networking.k8s.io/v1
kind: Ingress
metadata:
  name: argocd-server
  annotations:
    ingress.kubernetes.io/proxy-body-size: 100M
    ingress.kubernetes.io/app-root: "/"
spec:
  rules:
  - host: argo.example.com
    http:
      paths:
      - backend:
          service:
            name: argocd-server
            port:
              number: 443
        path: /
        pathType: ImplementationSpecific
  tls:
  - hosts:
    - argo.example.com
repository.yaml
In repository.yaml we will put the URL to our repository. That is all that will go in this secret. Argo needs this in order to connect to the repository. The credentials will be stored in another secret.
apiVersion: v1
kind: Secret
metadata:
  name: private-repo
  namespace: argocd
  labels:
    argocd.argoproj.io/secret-type: repository
stringData:
  url: git@ssh.dev.azure.com:v3/example/kubernetes/kubernetes
secrets.yaml
In secrets.yaml we need to put in your ssh key to access the git repository. The sshPrivateKey is the base64 encoded private key of your certificate. You can get that by, in Linux, using the base64 utility. cat mykey | base64
The contents of secrets.yaml is like this (my key is removed):
apiVersion: v1
kind: Secret
metadata:
  name: argoproj-ssh-creds
  namespace: argocd
  labels:
    argocd.argoproj.io/secret-type: repo-creds
stringData:
  url: git@ssh.dev.azure.com:v3/example/kubernetes/kubernetes
  sshPrivateKey: |
    -----BEGIN OPENSSH PRIVATE KEY-----
    ...
    -----END OPENSSH PRIVATE KEY-----
There are a few different options for repository credentials, like a username/password combination. You can see them all by looking at the example manifests at the Declarative Setup page in Argo's docs, linked below.
argocd-secret.yaml
The argocd-secret.yaml file contains the admin password. To create the hash, which is a bcrypt hash, we use a simple python one-liner. You will need to make sure you have python 2 and the bcrypt module installed.
docker run -it --rm httpd htpasswd -nbBC 10 user <password> | grep -Eo '\$2y.*' | sed 's/^\$2y/\$2a/' | base64 -w 0
The first part of this command takes the password and turns it into an htpasswd version, prefixing with user. The grep part strips that off. The sed part replaces the $2y at the beginning with $2a. The 3rd part base 64 encodes the result for use in a Kubernetes secret.
user doesn't matter, it can be whatever. Change <password> to whatever you want.
Here's the contents of argocd-secret.yaml. Replace the value for admin.password with the long value you just got.
apiVersion: v1
kind: Secret
metadata:
  name: argocd-secret
data:
  admin.password: JDJhJDEwJGxlUjFFY1d....
deploy-command.yaml
The deploy-command.yaml file adds --insecure to the list of arguments that are passed to the UI. This is needed because of the gRPC stuff that Argo uses.
- {op: add, path: /spec/template/spec/containers/0/command/-, value: --insecure}
service.yaml
This reconfigures the service, so it becomes a cluster ip.
apiVersion: v1
kind: Service
metadata:
  name: argocd-server
spec:
  type: ClusterIP
kustomization.yaml
We glue everything together in kustomization.yaml. We also set the Argo images to use.
A small note on the GitHub URL, it will most likely return a 404 if you try to directly browse to it. The reason this works is that Kustomize uses a library called GoGetter. That library sees the URL is for GitHub then parses it and does a git clone for the correct repository, in this case argoproj/argo-cd. Kustomize then references the directory contents of manifests/cluster-install. The ?ref=v1.8.3 is an argument to GoGetter that tells it to checkout branch v1.8.3.
apiVersion: kustomize.config.k8s.io/v1beta1
kind: Kustomization

resources:
- base/repository.yaml
- base/secrets.yaml
- base/applications.yaml
- base/ingress.yaml
- https://github.com/argoproj/argo-cd/manifests/cluster-install?ref=v2.2.4

patchesStrategicMerge:
- overlays/service.yaml
- overlays/argocd-secret.yaml

patchesJson6902:
- path: overlays/deploy-command.yaml
  target:
    group: apps
    kind: Deployment
    name: argocd-server
    version: v1

namespace: argocd
Apply
With those files created, push them up to your git repository. Argo will need them for its first sync.
Now we need to create the argocd namespace and apply the config to the cluster. Think of it as bootstrapping the cluster.
kubectl create ns argocd
kustomize build | kubectl apply -f -
After you apply the manifests, you should be able to get to your Argo UI and see the cluster sync itself.
If you do not have an ingress controller you can use the kubectl proxy command.
First, get the name of the container using kubectl get pods -n argocd. The name of the container will start with argocd-server. The command should output something like this:
NAME                                  READY   STATUS    RESTARTS   AGE
argocd-application-controller-0       1/1     Running   0          2d1h
argocd-dex-server-xxxxxxxxxx-xxxxx    1/1     Running   0          2d1h
argocd-redis-xxxxxxxxxx-xxxxx         1/1     Running   0          2d1h
argocd-repo-server-xxxxxxxxxx-xxxxx   1/1     Running   0          2d1h
argocd-server-xxxxxxxxxx-xxxxx        1/1     Running   0          2d1h
Next run the proxy to forward port 8080 from the container to your local desktop. replacing podname with the name of the argocd-server pod.
kubectl port-forward podname 8080:8080 -n argocd
Now open your browser and go to http://localhost:8080. That is all there is to accessing Argo without an ingress controller.
Conclusion
Setting up Argo to manage itself was not the easiest of tasks to figure out. And the lack of documentation in a single place made it even harder. On top of that, the version of kustomize baked into the kubectl command is so out of date that it can not reference an external URL, not reliably anyways. Just use the updated kustomize tool.
I like having Argo manage itself. I really like that things are automated in that I can push up a change and it shows up in my cluster. Now to deal with getting rid of nginx and replace it with Traefik. I'm tired of everything going down while my cluster brings in a change.
Useful links

 logo
logo GitHub
 GitHub
 Kubernetes native configuration management